Bilge pumps: testing, inspection and flooding response
A complete bilge-pump check follows the pickup, hose, outlet, power, automatic control and alarm, then uses a water test and a clear sequence for rising water.
In brief
To check a bilge pump, use water to test pickup, real discharge and outlet; trigger manual control, automatic control and the alarm separately; inspect hose, clamps, fuse and connections. Rated flow falls with head and restrictions. If water rises, pump, locate and reduce the ingress, wear lifejackets and call for help early.
Article outline
A bilge pump does not make a boat watertight. It buys time and reveals that water is arriving where it should not, so a meaningful inspection follows the whole route from pickup to outlet and tests the power supply, automatic control and alarm as separate functions.
Rated capacity is not onboard capacity
The number printed on a pump describes a test condition, not a guaranteed discharge rate in a particular boat. Rule’s installation manual shows lower flow as vertical head increases and lists long hose runs, bends, rough internal surfaces, valves and reduced openings as further restrictions. Selecting a pump by comparing catalogue gallons per hour alone can therefore create a false sense of reserve.
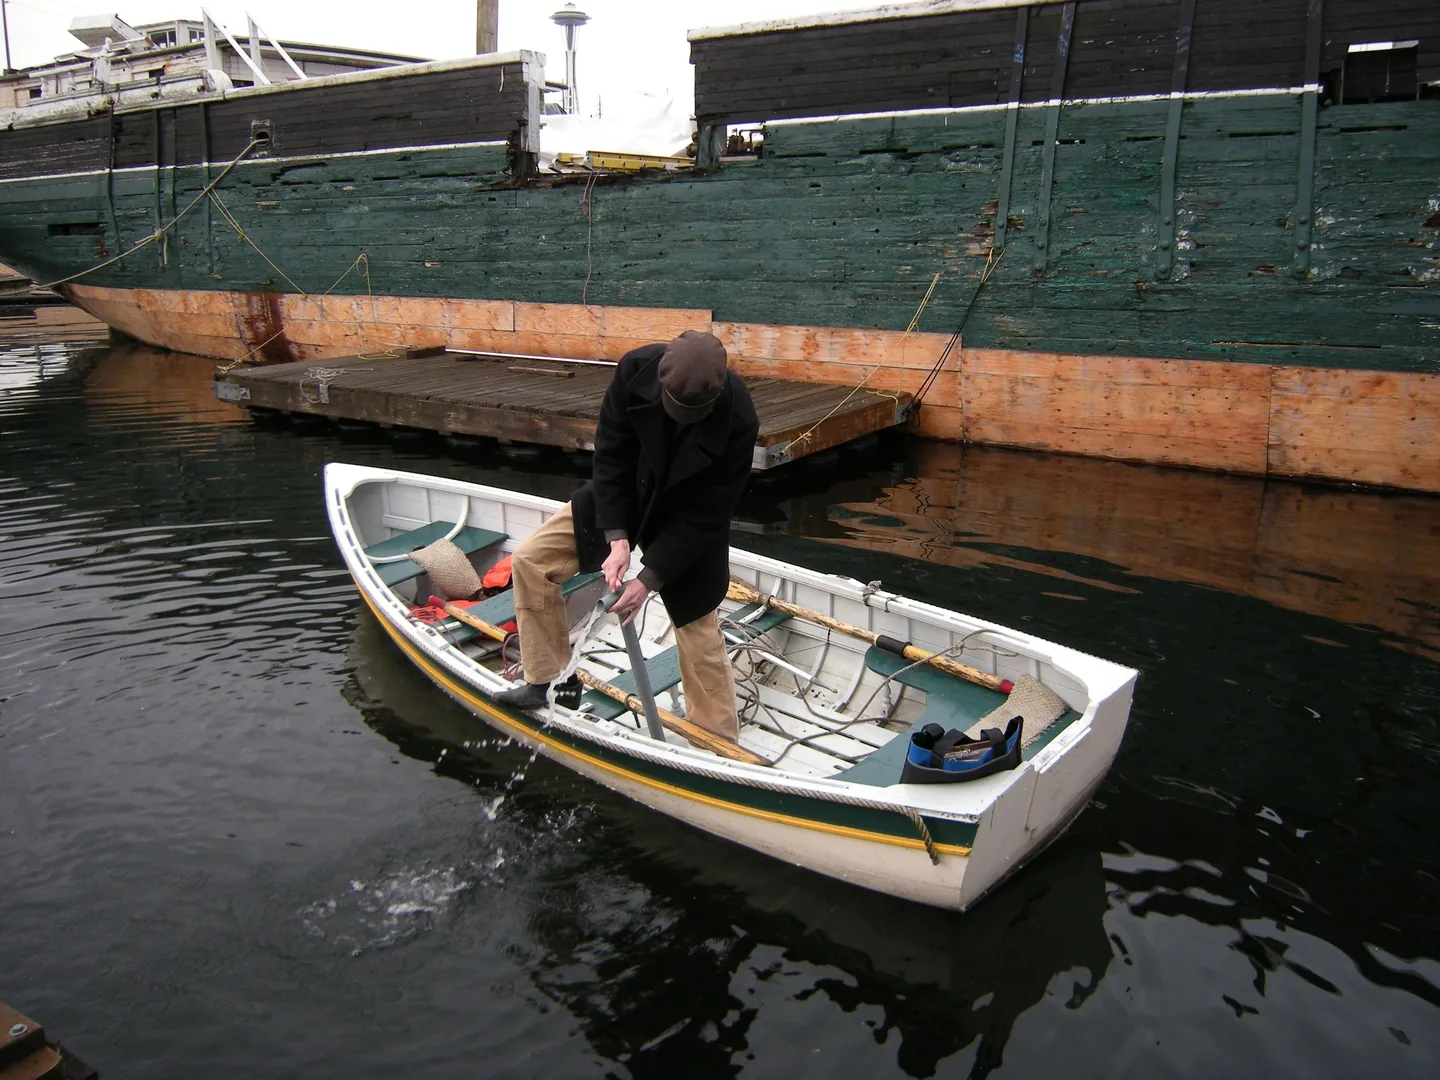
A useful check moves water rather than merely making the motor hum for a moment. Add a controlled amount of clean water, watch the pump start, time the drawdown and inspect the stream at the outlet. This is not a certified capacity test, but it creates a repeatable baseline for the installed system and can expose deterioration caused by debris, corrosion, a weakened battery or a damaged hose.
Small submersible pumps are intended to remove normal water from an intact boat, including spray, rain, seepage, spills and limited water shipped in heavy conditions. The Rule manual explicitly says these pumps are not designed to control flooding caused by hull damage. That limitation sets the emergency priority: pumping matters, but finding and reducing the source of ingress matters more.
Inspect the complete water path
Begin at the lowest practical pickup for the boat’s normal trim. The strainer should be secure, reachable and clear of hair, cable-tie tails, sawdust and other debris that can stall the impeller or immobilise a float switch. Trace the discharge hose by sight and touch, looking for crushing, tight bends, chafe, unsupported weight and corroded clamps.
The outlet geometry deserves equal attention. For the products covered by its manual, Rule specifies a through-hull at least 8 inches, or 20.3 centimetres, above the heeled waterline. Where a discharge is below the maximum heeled waterline, its stated arrangement includes a seacock and a vented loop or another anti-siphon method; a check valve alone is not the anti-siphon device. These are product instructions, not a universal refit recipe, so the boat’s design and applicable standards still govern.
Water draining back from a long hose can repeatedly trigger an automatic pump. Adding a check valve may reduce that cycling, but it also restricts flow and introduces another item that can jam. Diagnose the hose route, the outlet height at heel and the returning volume before changing the system.
Test manual control, automatic control and alarm
The panel switch tests only one operating path. The automatic sensor must also be activated with water or by the maker’s specified procedure, while confirming that wiring and loose objects cannot trap it. A high-water alarm is a third test: its sound and visual indication, where fitted, must be recognisable from the helm and relevant accommodation.
Electrical joints belong above the highest expected water level and need marine-suitable protection against corrosion. Fuse rating must match the pump model, while cable size depends on current and total circuit length; neither should be guessed. In one Rule 12-volt range, the installation table assigns different fuse ratings from 4 to 7.5 amperes across four pump sizes, demonstrating why a nearby boat is not a wiring specification.
The automatic feed should be clearly labelled and arranged so that it is not casually isolated with the general battery switch. Any alteration must be checked against the vessel diagram, the component instructions and locally applicable rules. Blackened copper, submerged splices, hot terminals or a motor that slows under load require correction before departure.
Redundancy must survive a common failure
Two pumps that share one hose, fuse or switch do not provide fully independent backup. A higher-mounted secondary pump can respond when the primary fails or is overwhelmed, but only if the installation avoids as many shared failure points as practicable. A manual pump or bailing method that remains reachable with sole boards in place adds a defence that does not consume battery power.
The UK Maritime and Coastguard Agency makes the same broad point in flooding guidance for fishing vessels. It emphasises preventive maintenance of watertight integrity and pumping arrangements and recommends considering salvage pumps, shaft-driven pumps and secondary bilge alarms. That notice does not regulate an ordinary Mediterranean pleasure boat, but its failure-management logic is valuable: the appropriate backup depends on compartments, voyage, distance from help and likely ingress routes.
Canadian construction standards for certain non-pleasure small vessels provide another instructive benchmark, not a rule for every recreational craft. They require effective pumping with the vessel upright and heeled to 10 degrees, protection against back-siphoning and strainers on suction lines. The lesson is physical rather than jurisdictional: water moves as trim and heel change, and a pump that performs at the berth may no longer sit at the collecting point.
Build a repeatable routine and an emergency sequence
Before departure, look into each accessible bilge area, note unexplained water, run the manual control and confirm that automatic power is available. At planned intervals, perform the water test, clean the pickup and sensor, inspect hose, clamps, outlet, fuse and connections, and trigger the high-water alarm. Repeat the test after yard work or electrical changes, when new debris or altered wiring can defeat an otherwise healthy installation.
If water is rising, put on lifejackets, start all suitable pumping and look for the source without entering hazards from moving machinery, live electricity or fuel vapour. Close a seacock only when it is positively identified and safe to reach; use plugs or soft damage-control material where appropriate. Prepare an urgency or distress call early with position, number of people and the nature of the flooding, because waiting for submerged batteries can remove both pumping and communications.
No single water depth dictates whether to turn for shelter or leave the boat. Ingress rate, stability, weather, distance, available assistance and the effectiveness of damage control all matter. The clearest warning is trend: if the level continues to rise with every pump operating, inflow exceeds the installed response.
The best inspection result is not a reassuring motor noise but evidence that water reaches the pickup, travels through an unrestricted hose, leaves without returning, and triggers an independent warning when the first defence is insufficient. Record what normal drawdown looks and sounds like. That modest baseline turns later changes into information and gives the crew time to act before a maintenance defect becomes a flooding emergency.
Sources and references
Sources consulted and references retained to verify data and context.
- Construction Standards for Small Vessels — TP 1332ETransport Canada
- MGN165 Amendment 1 (F): fishing vessels — risk of floodingUK Maritime and Coastguard Agency · 2025-06-16
- Rule Standard Bilge Pumps 360–1100 GPH — installation manualXylem / Rule
- Seattle — CWB — hand bilge pump photographWikimedia Commons · 2009-03-03
Continue reading
406 MHz EPIRB and PLB: choosing, registering and testing
September 27, 2026 · 7 min read
Navigation lights: inspect and test them aboard
September 26, 2026 · 7 min read
Boat reboarding ladders: test them from the water
September 25, 2026 · 7 min read